Games and Graphics Level 3
Hello and welcome to the section of my website dedicated to my work done during the Games and Graphics Level 3 course at Preston College.
Here you can find all of the projects that I have done, along with details on how I got there.
Contents
Hazy City
Rectangular Marquee Tool [M]
The Rectangular Marquee Tool [M] is used to select an area of an image. To add a selection, click and drag, to add more hold down SHIFT and drag. To remove a part of a section, hold down ALT and drag. To move the selection, click in the middle of it and drag to move it around. To deselect, press CTRL + D
Gradient Tool [G]
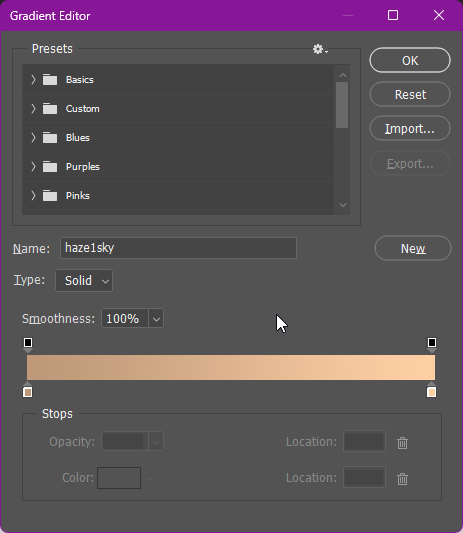
The Gradient Tool [G] makes colour transitions to add to an image, click the slider dots to change the colours.
The Hazy City
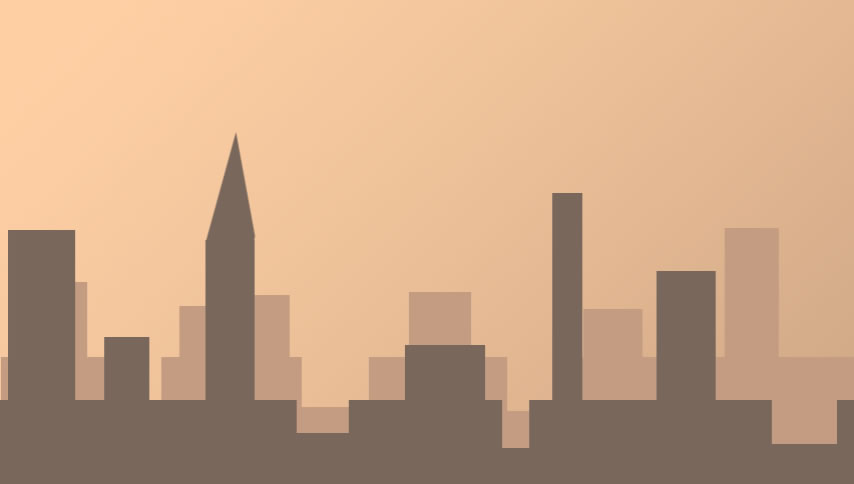
Here I used the Gradient Tool [G] to make the sky, using the settings that can be seen above. I then used the Rectangular Marquee Tool [M] to create the buildings and I used two separate layers with different shades of brown to create some depth with the buildings.
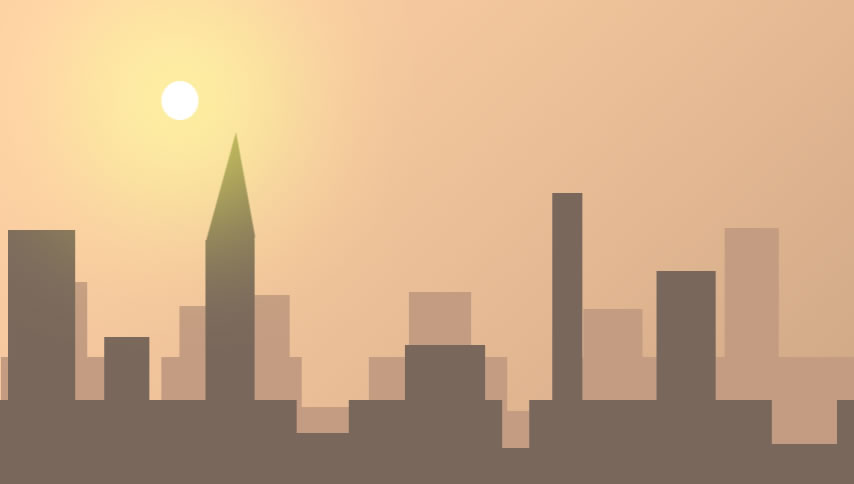
To add the sun to the image, I added a circle using the Ellipse Tool [U], and then added an outer glow effect to it by double clicking on the layer, and adding the glow effect, changing the colour of it to yellow.
While the way I chose to add the sun created the desired result for this image, it is possible to do it in another way, and that is by merging the layers [CTRL + E], whilst selecting the layers you want to merge and then using the Brush Tool [B] and using the 'Color Dodge' mode, changing the colour to an orange colour.
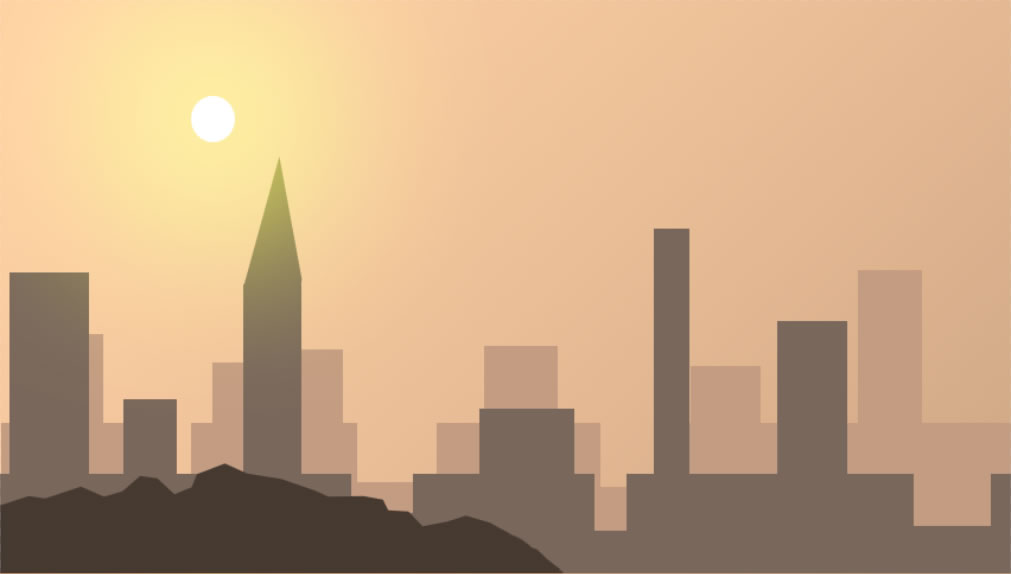
I then added some land in front and used the Polygonal Lasso Tool [L] to select this area and fill it in with colour.
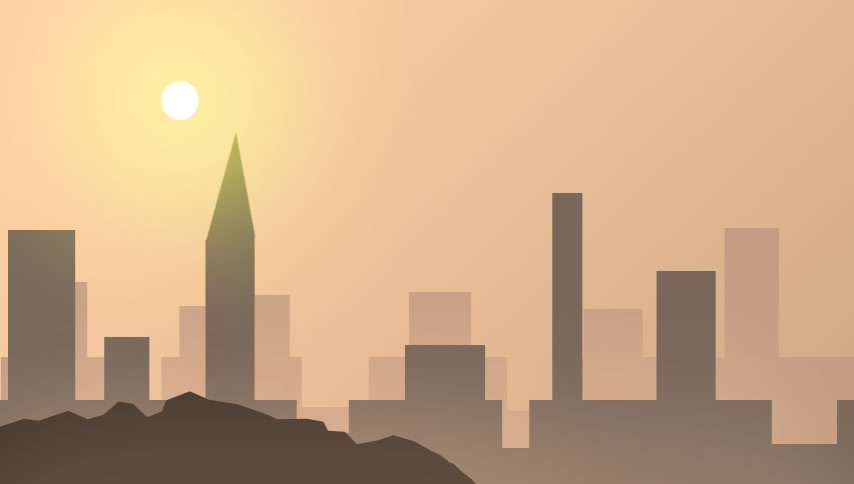
I added some haze to the building, using a soft brush, to finish this image off. The haze makes it look significantly better than before, when it was just solid colours.
Robot in Old City
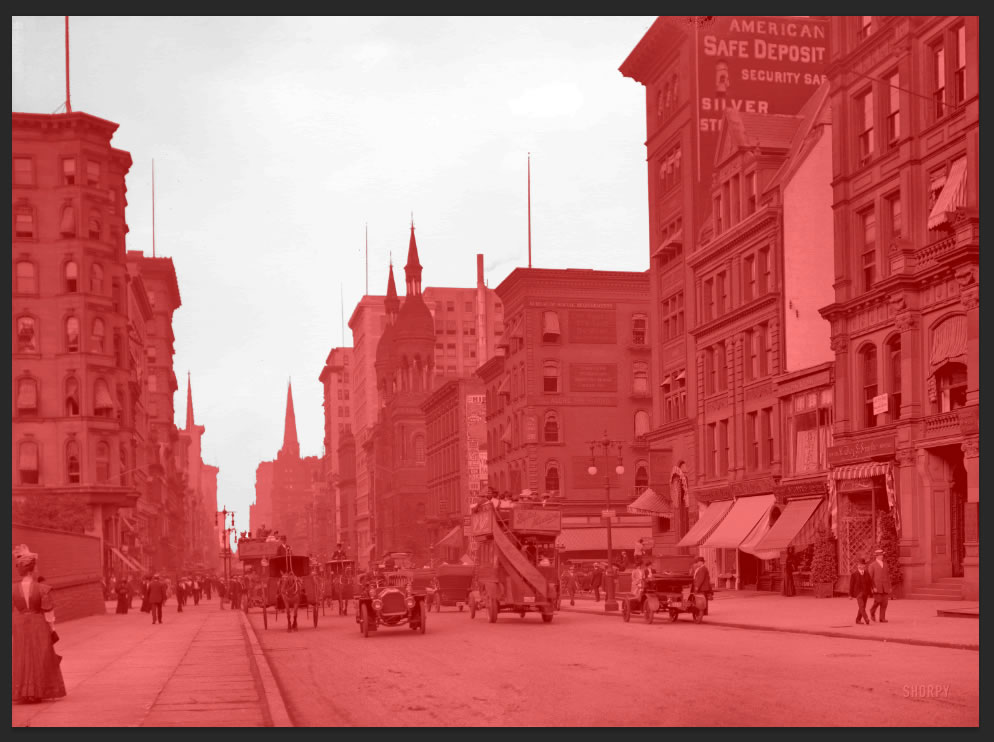
The Magic Wand Tool [W] has been used here to remove the sky; this tool selects all similar colours in a certain area. The Tolerance is the number of different shades of colour it can select, for example, 32 would be 16 shades darker and 16 shades lighter, this is the tolerance I have used to cut out the sky in this picture.
The screenshot shows the layer as masked; it can be done by pressing ‘Q’, this puts us into quick mask mode, from here we can use a brush (B) to add or remove from the selection by alternating between black and white [X]. This makes it easier to see what has and hasn’t been selected with the wand.
(Note: Make sure that the colours are black and white or it will not work correctly.)
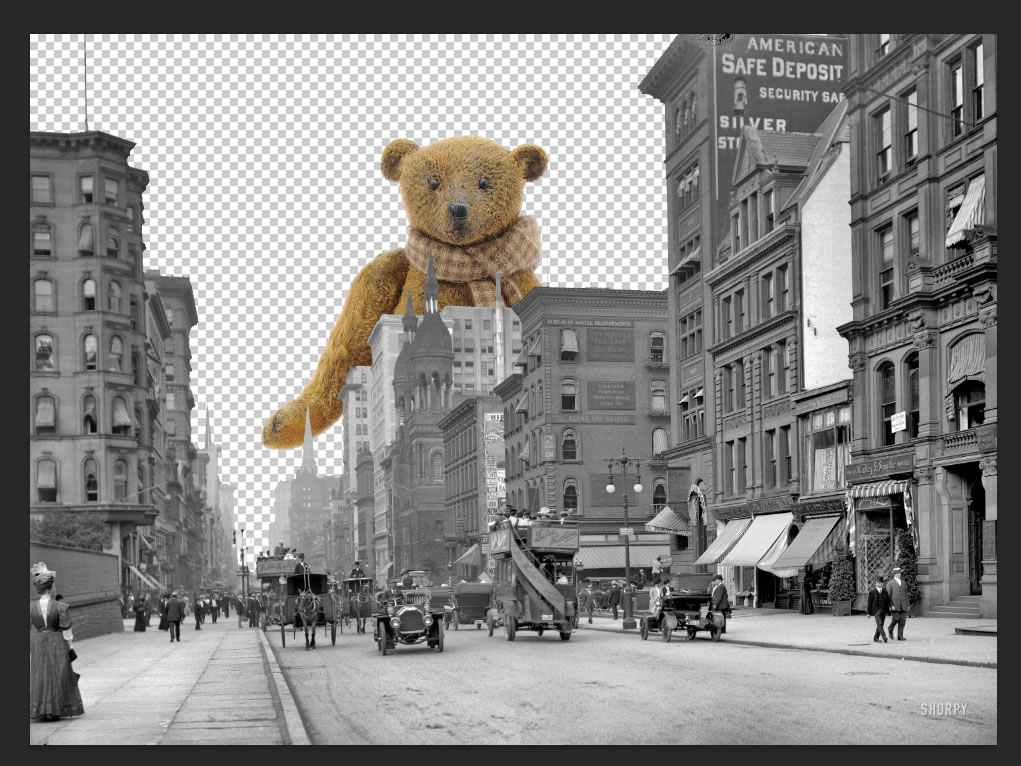
I dragged the teddy bear into the image and transformed it [CTRL+T], which allowed me to change the size.
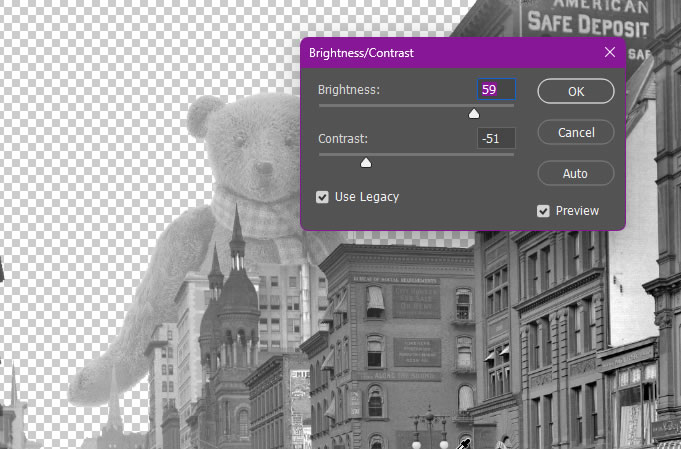
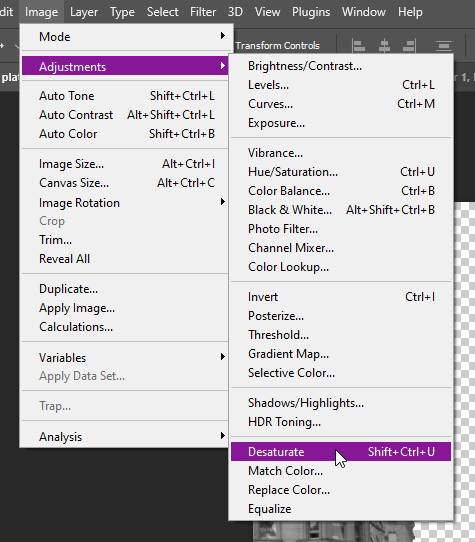
Then I desaturated [CTRL+SHIFT+U] the bear to make it grayscale like the rest of the image and then adjusted the brightness and contrast to make the bear appear much further away. This makes the bear look way less out of place in this image.
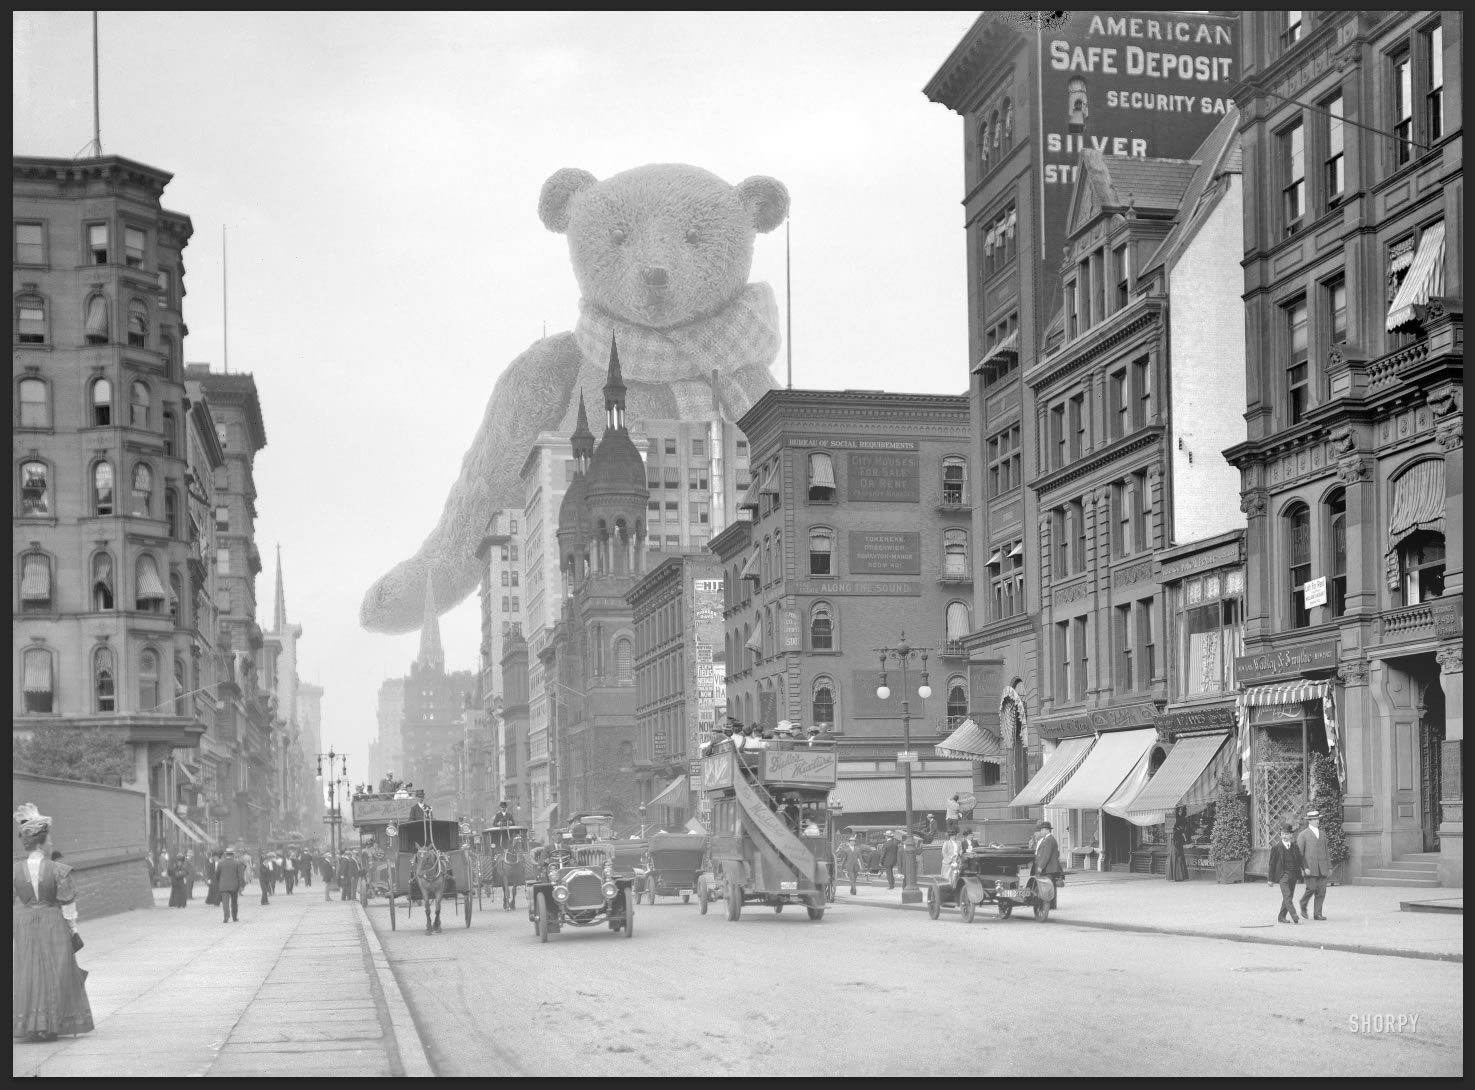
Lastly, I used a soft brush (with a low opacity) with the same colour as the sky to add some haze at the bottom of the image.
Statue of Liberty
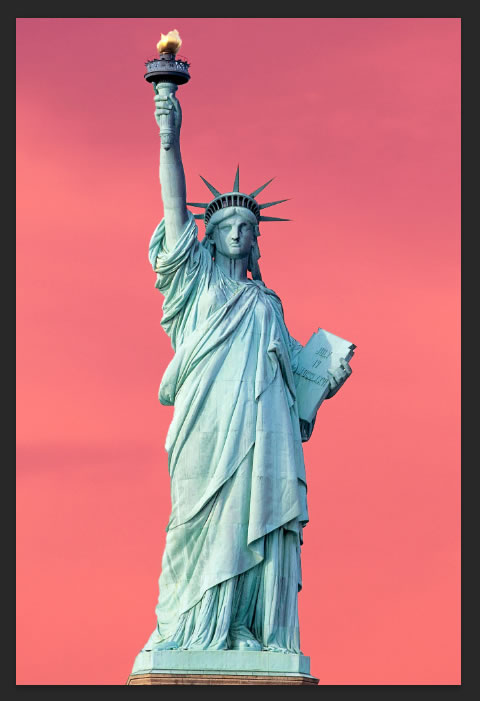
Firstly, with this image, I need to remove the background, this time I did it by going into Select > Subject. This will select the statue; I touched up the selection using Quick Mask (Q).
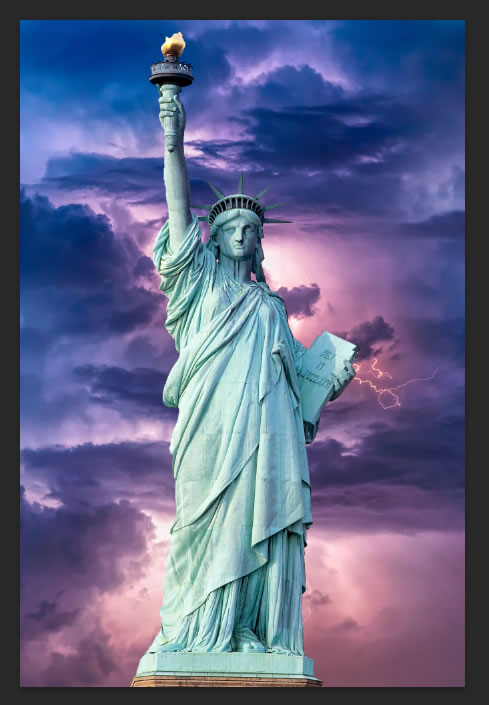
Next, I inverted the selection by pressing CTRL+SHIFT+I and then I deleted the background. I then replaced the sky with one found on the internet.
After replacing the sky, I then adjusted the brightness, contrast, hue and saturation of the statue to make it fit in with the sky.
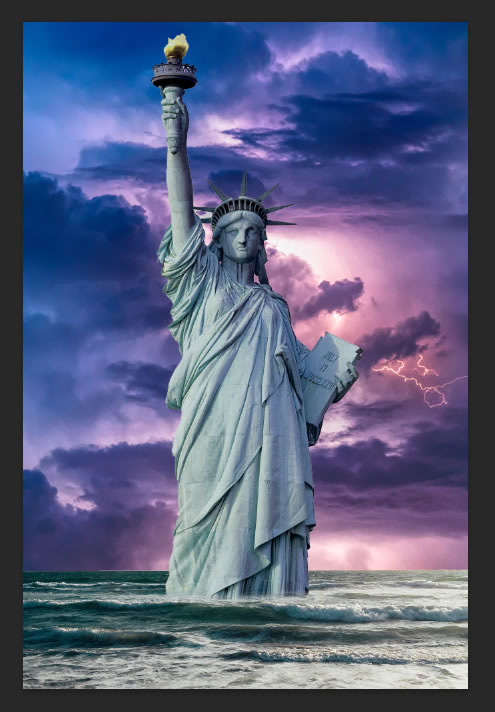
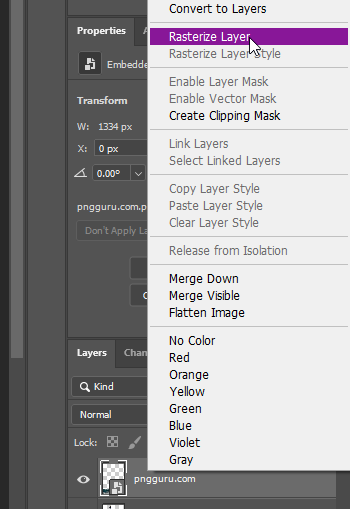
I then put in an image of water and rasterized the new layer. After that I selected the statue again and used Quick Mask (Q) to select more area of water to keep, so the statue looks submerged in the water.

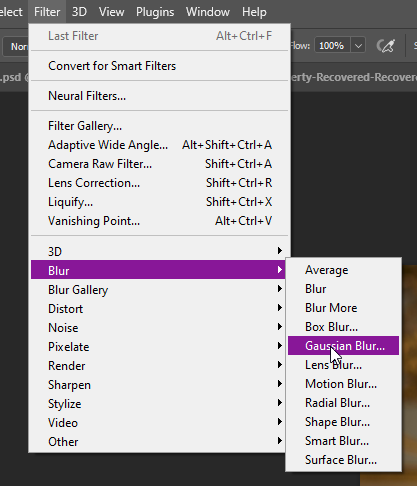
After that I used Gaussian Blur on the sky to add the effect that the picture was taken by a camera focussed on the statue, this also adds some more depth to the image, it makes the sky look further away. I also adjusted the colour of the water to make it match the rest of the image.
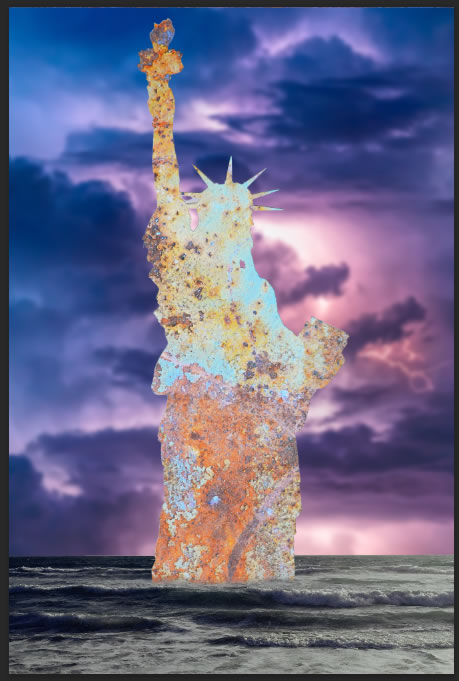
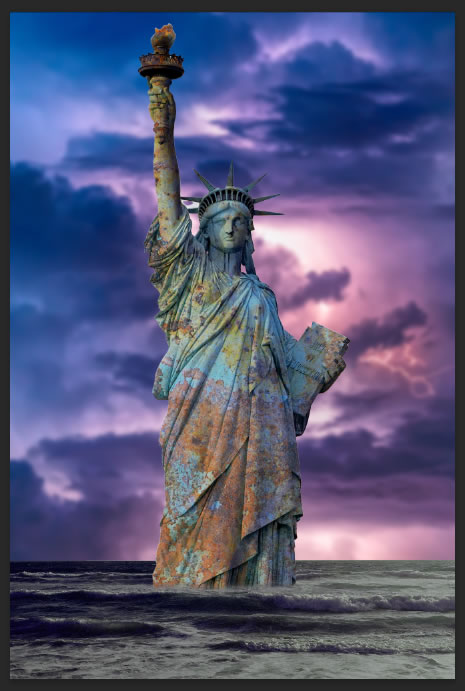
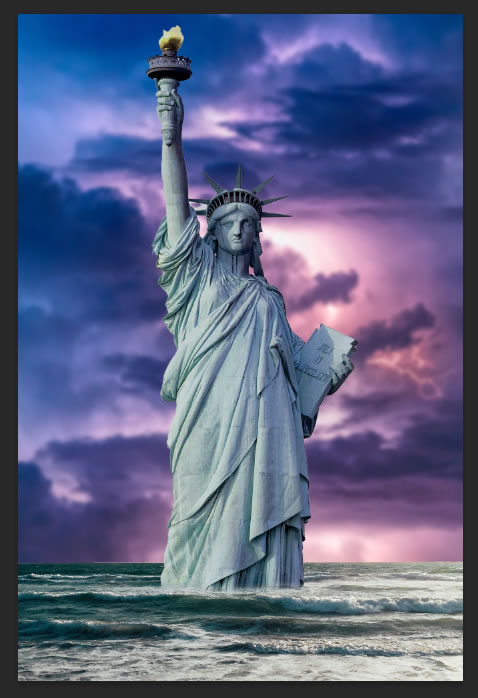
I then applied a rusted texture to the statue and cut it out to the shape of the statue. Then I used the “Multiply” layer filter to merge the statue and the rust.
Layer Masking
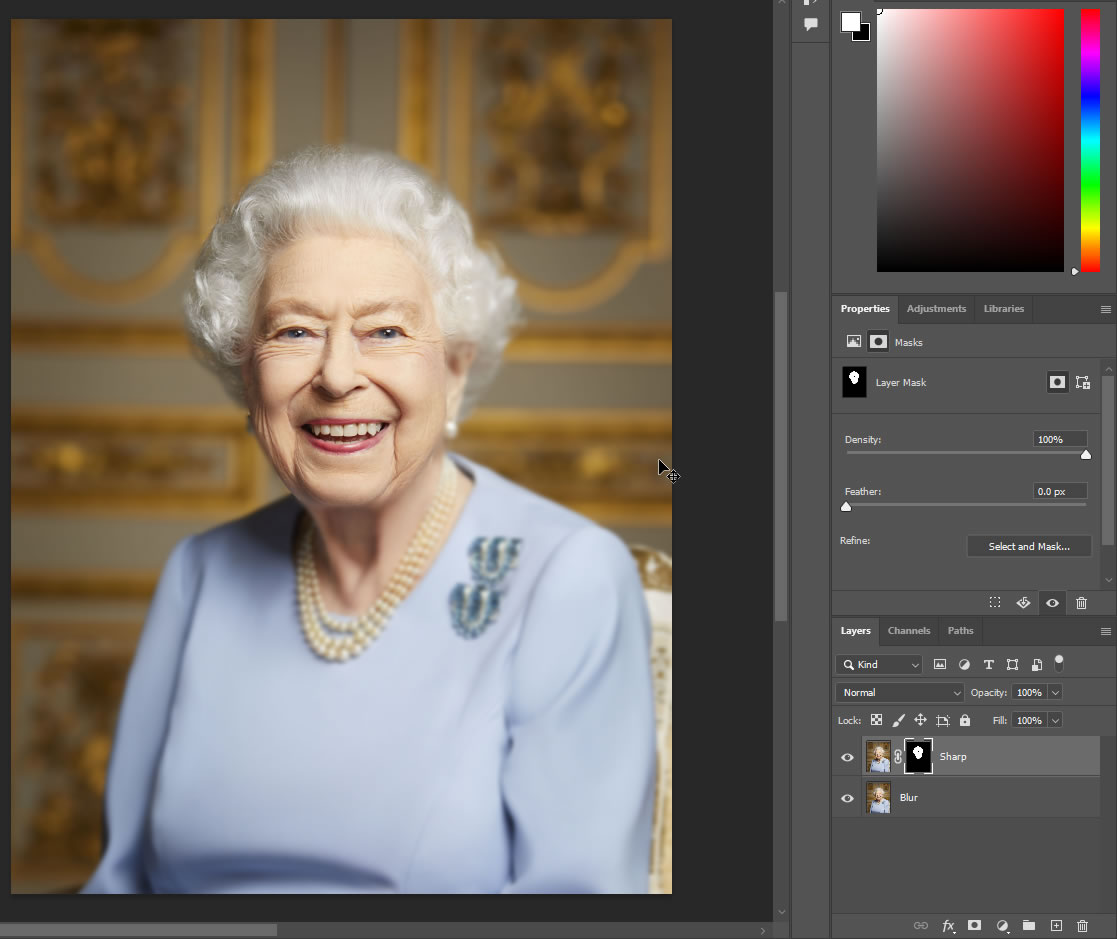
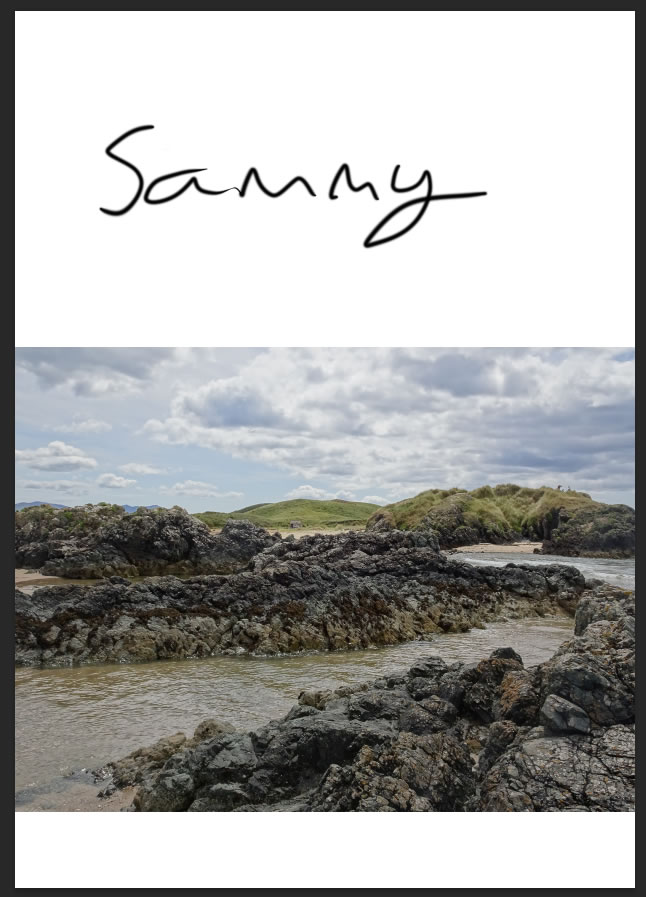
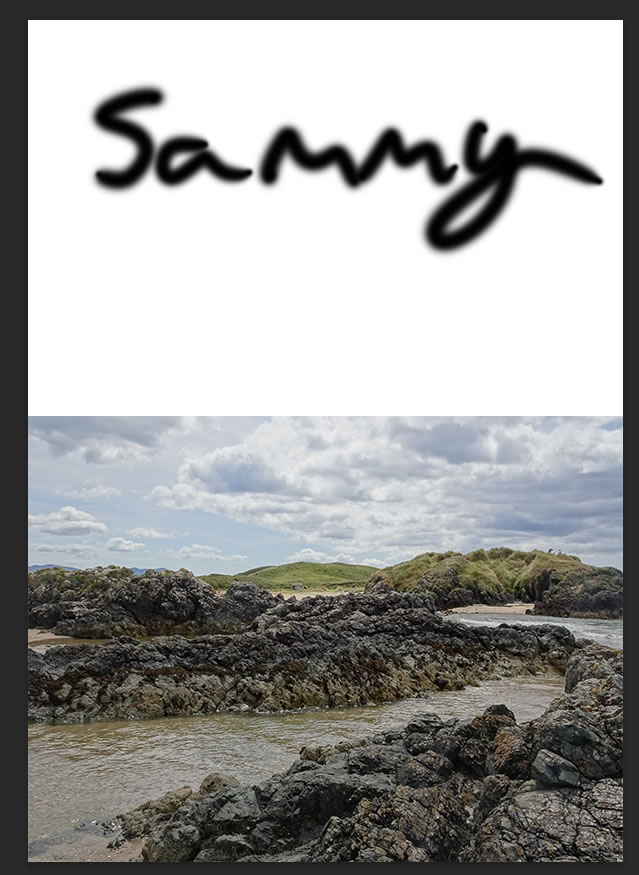
I have got a portrait of the Queen of England, and then duplicated the layer, calling the top one ‘Sharp’ and the one underneath ‘Blur’.
Then I added Gaussian Blur to the ‘Blur’ layer and added a layer mask, drew on it in black using the brush tool to reveal the layer underneath.
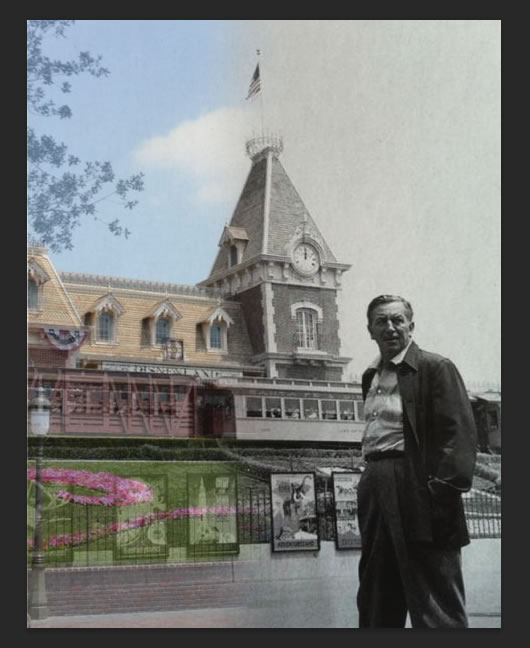
To make a comparison between the past and present in this image, what I did was put the present day image in a new layer on top of the image of the past, lining them up best I could.
I then added a layer mask to the present day layer and created a black and white gradient to make a smooth effect to transition between the past and present.
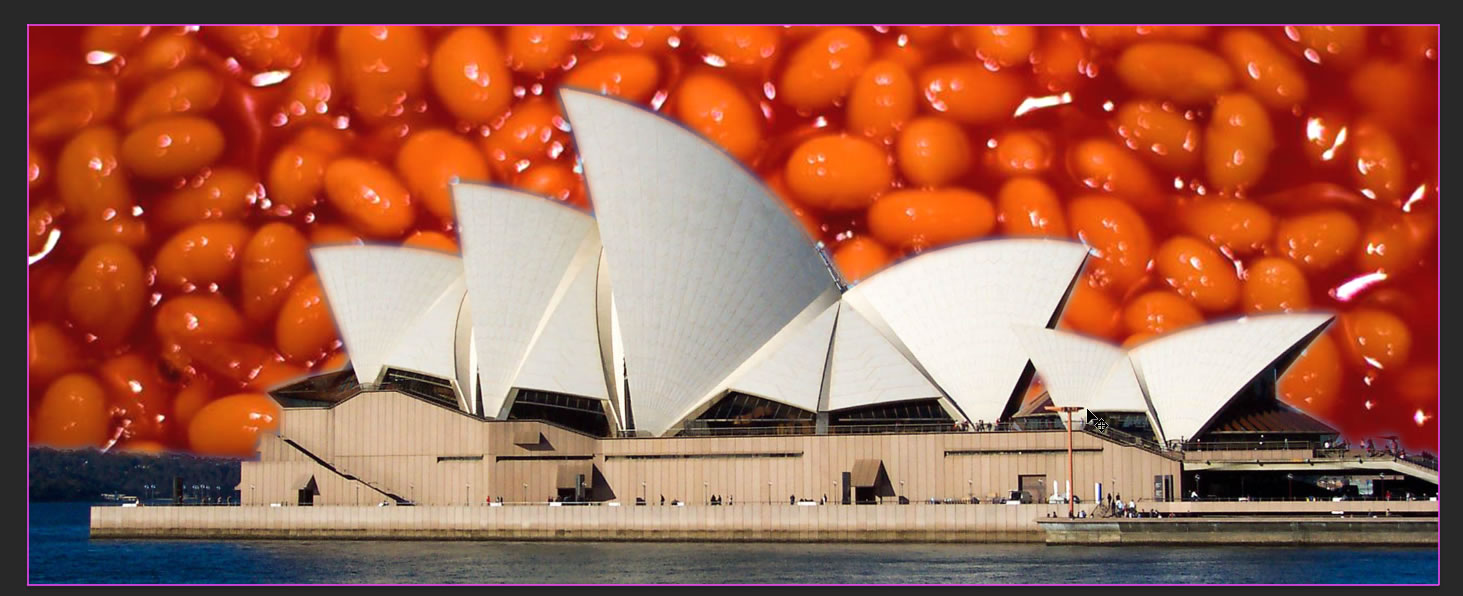
For the next image, the task was to replace the sky, so I decided to replace the sky with baked beans using the magic wand tool to select the sky and then creating a layer mask. I also added a Gaussian Blur to the layer mask to make a smoother transition.
Resolution
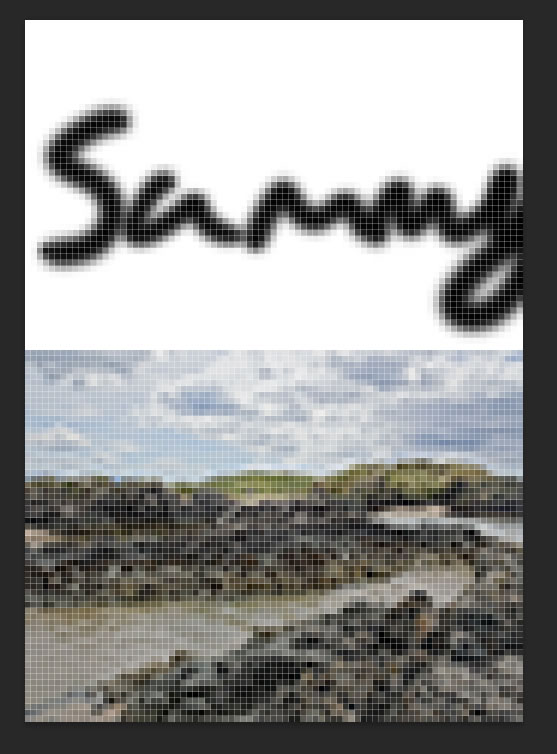
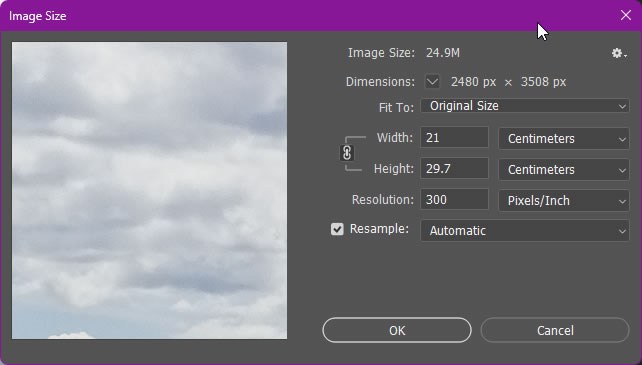
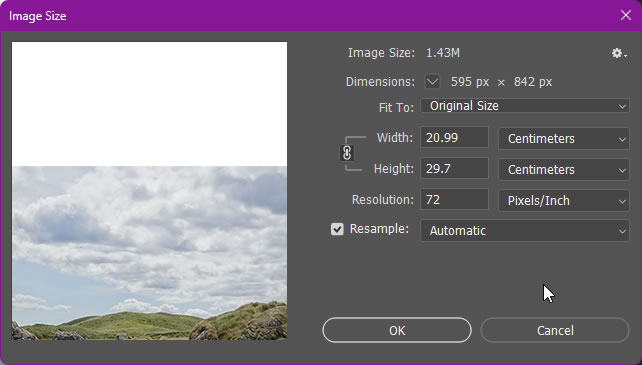
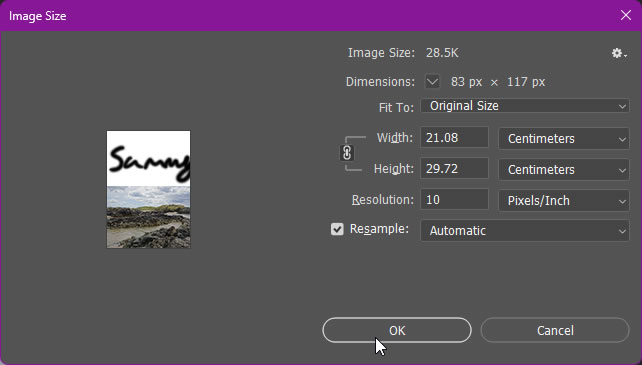
Here I have created 3 images with the dimensions 210x297mm and with 10, 72, and 300 ppi. The lower the resolution, the less pixels available, meaning lower quality.
Why would you want a lower resolution image?
There are a few reasons why you would want to have a lower (or higher) resolution. The main one is file size, specifically if you are putting an image on a website, like the ones you are seeing here. High resolution images with large file sizes are not good for websites (or to send over email), as they are too big. The largest you would realistically want to put on a website is about 1MB, as you can see above, the images have a different file size, the best quality one is 24.9MB, which would use way too much bandwidth (expensive), and take a long time to load in for the user. This is bad because it costs more for the website host and possibly the end user if they are on mobile data or a limited data broadband plan (like most are in the USA).